I took delivery of a box of new Primes with the wireless kit last week. This is really exciting. From a pedagogic point of view, it seems to me that the big move is to generate genuine classroom dialogue, supported by serious technology. The Prime solution gives you enough machines for a class, in a box you can easily hold in one hand. You give them out to your students. They turn them on. You launch the connectivity software on your PC and that’s it. Everyone is connected.
The auto-update feature on the software is a joy. The emulator and the connectivity kit both prompt you on launch to update. It is two confirmation clicks and the software is updated. In both cases these are important updates, so you must say ‘yes’! If you plug in (via USB) a calculator while the connectivity kit is running, then that will check to update the firmware. Again if you have any which are not brand new, say yes. It takes about 30 seconds. The wireless kit and the calculators both come with a CD which gives direct access to the software if you haven’t installed it before. There is a small aerial stand which is a USB connection to your PC. This is installed without anything else being needed. The wi-fi dongle is very small and neat and fits under the slide cover. Once this is installed and the software is running, the calculators are listed and their screen visible in the connectivity software on the teacher PC and hence projected for the whole class..
When the dongle is first fitted to the calculator, it is necessary to find the network. This simply involves touching the info panel in the top right hand corner of the Prime screen and touching the network icon that is there.This directs you to a screen with a drop down list which shows that a network is available (HP_Classroom_Network).
On launch the connectivity kit will not show the screen monitors. So, just click the buttons in the top right hand corner to show the monitor and the messages. 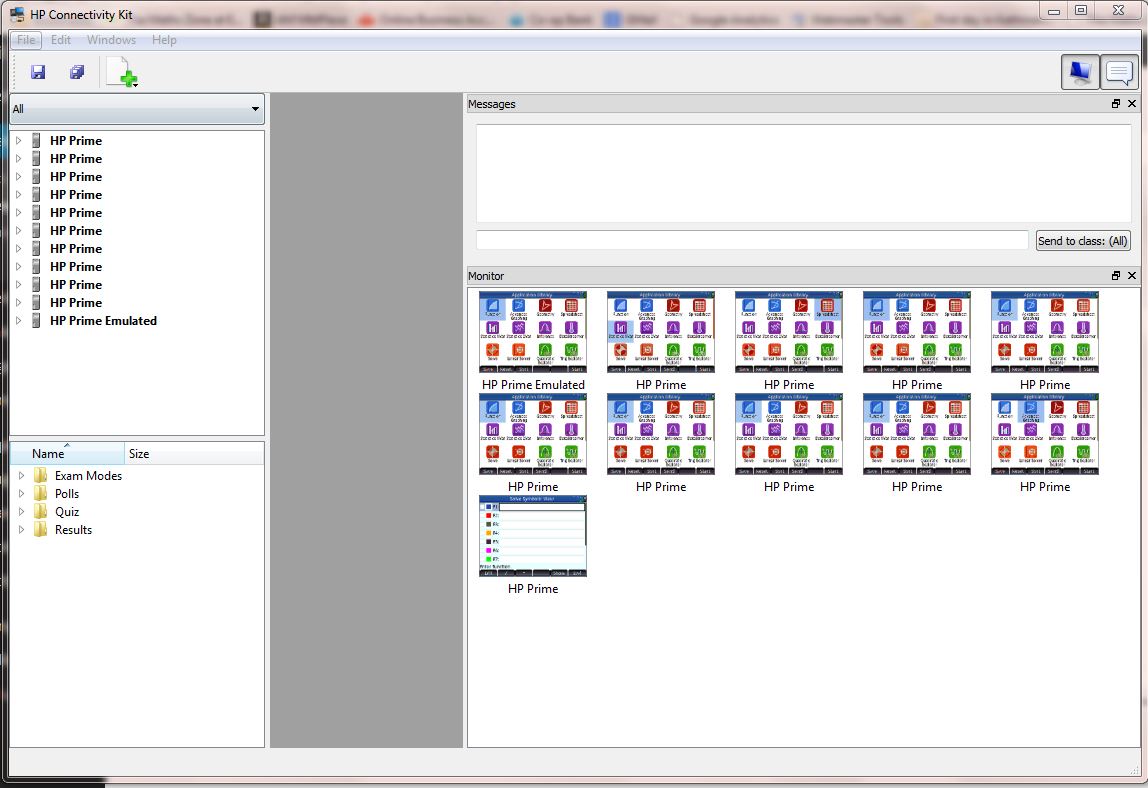
Here you can see screen shots from 10 Primes plus the emulator. The messages pane is open above.
Although it is very tempting to maximise the screen area for the monitors, You should avoid this, so there is space in the middle to set up an instant poll. (The grey area; if you cover this all up then you will not be able to see the poll window).
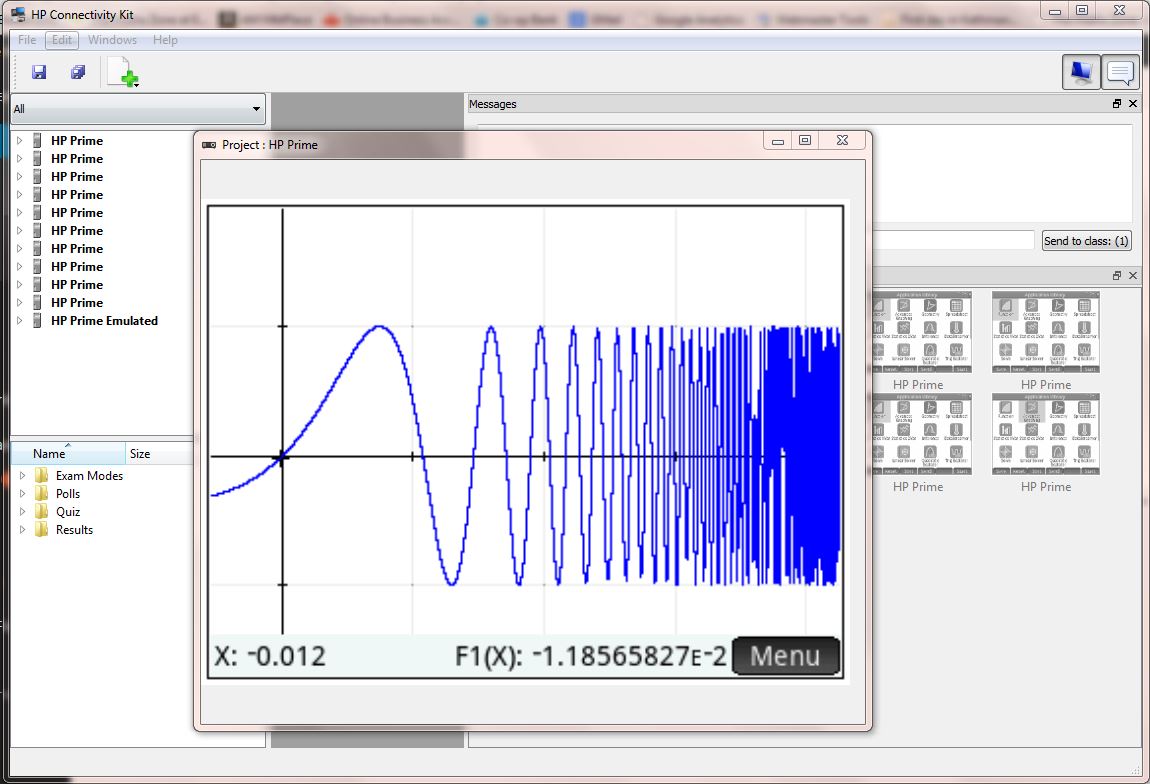
When we see a student has done something interesting, we can just double click their screen and a freely resizable window opens, to show to the class and get them to explain.
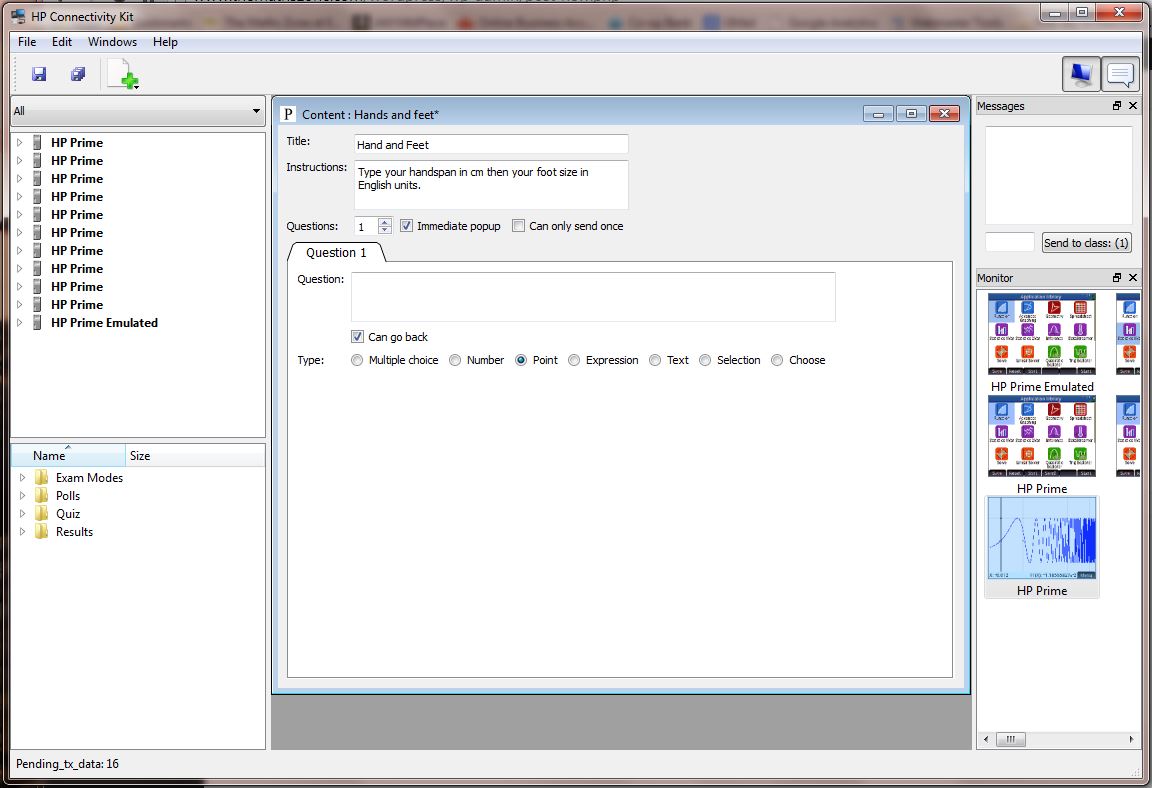
Click the add (+) button and add a poll. This can have many questions and a multitude of pre-set formats. This is a range of variations on; choosing from list, one or two number input or free text. You can set up a whole class quiz, but better to gather data as you go. For example do the classic hands and feet survey. set up a poll asking for a ‘point’ i.e. two variable data. You click on ‘add’ choose ‘poll’, type a name for the poll and then the poll interface comes up.
Go to the entry for your poll in the content list on the right hand side, right click and choose send. (Before you do this, make sure that none of the screens in the monitor have been clicked as this selects specific machines to send the poll too. you should see a button in the messages pane saying Send to Class (All) and then you know they will all get it!)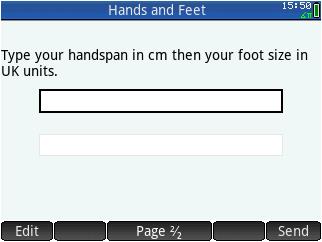
Now, every machine has the instructions and can go on to enter the data. (Clicking send when they are done).
Now double click on the results entry that will have been created automatically in the content list. 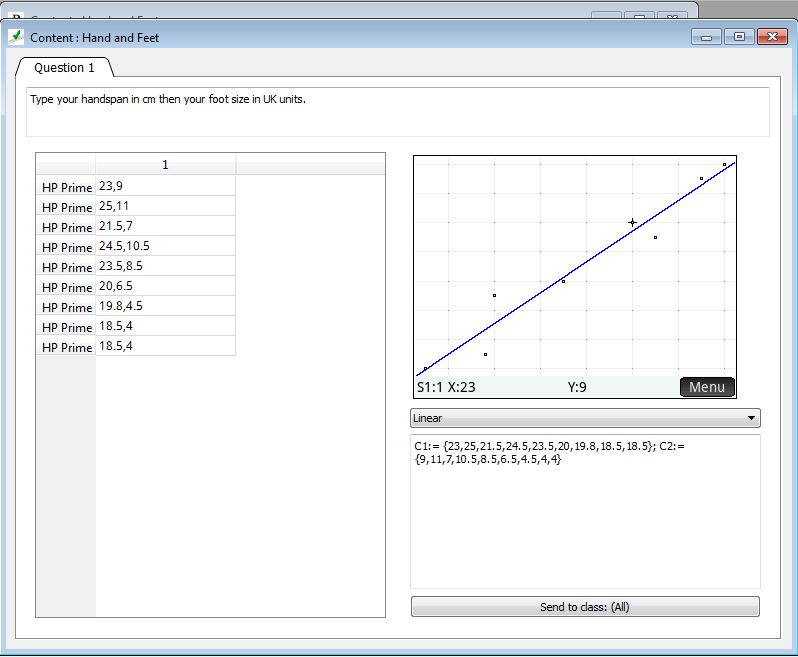 It defaults to a suitable view according to the type of data making the speed and ease is very impressive.
With emulator running you can choose to send the data either to all of the students or just to the teacher emulator, for further analysis. (Click the machines’ screens you want it sent to). 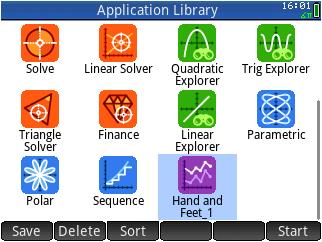
When you do this, a new App of a suitable type (1 or 2 variables stats) will be created with the name of your poll. 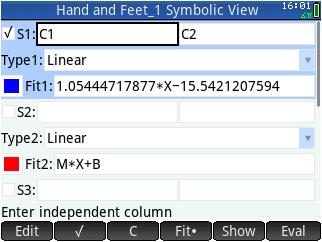
So, now we can find the regression line and model the relationship and get the summary stats.
This opens up a whole world of dialogic classroom opportunity. Classics like the class survey become incredibly easy to get the data and get ready for analysis and comparison. However, we can now ask all students to use the function app to enter an equation parallel to y=x. We generate 30 responses immediately. Pick out different examples. Ask students what is the same and what is different. We can poll students to choose a whole number between 0 and 10. Look at the distribution of their responses in a box and whisker plot. What do we think of as ‘between’? Now we get deeper conversation, with everyone involved, with software that allows thoughtful mathematical responses.
This cannot be done with iPads or Android tablets. Even if it could, the software is still not a patch on what Prime can do mathematically. For the maths (and science and computing) teacher this remains the way to go. Please get in touch if you would like me to show you the kit in operation or try it out with your students.
Email: chris@themathszone.co.uk